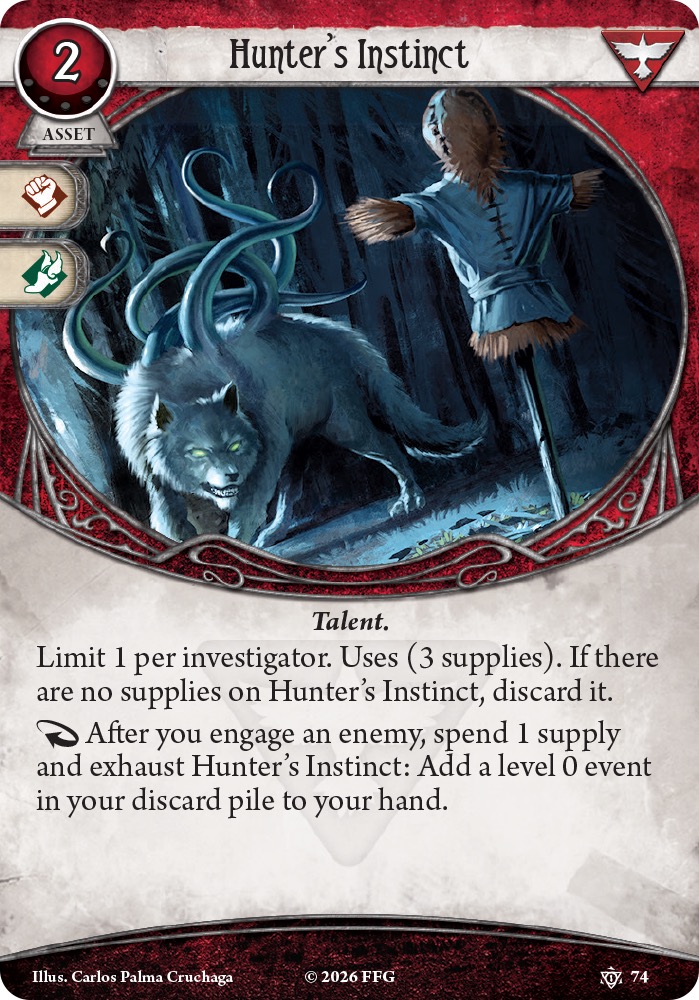
Fake Credentials

Notice that you can take this card with Versatile in Daniela Reyes to trigger her investigator ability pretty reliably, since the attacks from the failed Parley are not attacks of opportunity. And who knows, one time you might even discover a clue by accident.

Another interesting synergie presents itself if you take British Bull Dog with another Versatile, which saves you an action and 3 resources after you fail with Fake Credentials. With discard pile shenanigans offered by the Survivor card pool you can even trigger this combo multiple times per game after British Bull Dog runs out of ammo.

Of course, these are not particularly good plays, but we are here to have fun, aren't we?

(Also, this is my least favorite artwork in the game.)

AlderSign · 206
You can also parley with aloof enemies. So with her ability and the credentials enemies like whippoorwills are easily taken care of. — Tharzax · 1
Microscope

After some play, Microscope is quite an interesting card. It's a level 0 seeker card, meaning there are a number of characters who have access to it. For those who can consistently hit high-difficulty investigate attempts, Microscope isn't necessary - after all, it takes a while before it can compare to the efficiency of Fingerprint Kit, or the less conditional nature of Magnifying Glass. However, for those who want to assist with an investigation once in a while and who can spare a hand slot, or those who are filling a more flexible role, it's an inexpensive tool to fill that niche.

To start with the obvious, this probably isn't the go-to tool for those who already have high . Rather than risk a single draw that can go haywire, most primary cluevers will be able to boost their with more reliable tools including a stat-boosting ally and Magnifying Glass. This is probably overkill for those with 5 , though it can help bridge a gap for those who have 4 and don't want to dedicate themselves towards boosting it.

If you are taking this, you want to get it out early if possible. However, the condition for evidence isn't too bad - it's still reasonable when you draw this later game, and can bring this out during your turn before someone else fights on their turn. And one fight or evasion alone is enough for Microscope to break even on investigation attempts. It only needs 1 evidence to do its job - and two evidence is enough to push it to getting, scoring 3 clues with 2 actions. That means you only have to be near a few enemies when they're evaded or go down for this to be efficient. If you're the fighter, you'll likely get enough evidence on this to sweep a location every few rounds. If you're not the fighter, if an enemy spawns on you, chances are, the fighter is coming in and there'll be a dead enemy at your location soon. And if your fighter isn't there not, you might be buying time by evading the enemy - in which case, you'll still get the evidence.

And once that evidence is built up, it's potentially giving a +3 bonus on the test. That raises the investigation reliability to numbers that would normally require concerted effort. Even an off-investigator with 3 in a stat is able to make a check with 6 - that's enough to cover most common locations, and handle higher shroud locations with a minimal boost. With those numbers, even Roland Banks, Jim Culver, and Jenny Barnes can hit investigation checks with limited other support. Since this doesn't have a cap on the evidence it can gain, it can go wild for a number of turns, then be useful through a number of slow turns.

I think the ones who are most interested in this are characters with 3-4 int who don't want to dedicate more than one item for investigation. In addition, there are a few characters with particularly interesting synergy, Joe Diamond can slap these on along with the Detective's Colt 1911s to nail some difficult investigations between shooting things. Wilson Richards can use these as a source of a strong investigation, a bonus from his innate boost, and will likely use Tinker to reduce the overall slot concerns. Trish Scarborough is scoring future bonus clues off of those moments where she's helping through an evade. And, while it's hardly necessary for investigation purposes, Darrell Simmons can use this as one of the easiest sources of evidence this side of Empirical Hypothesis.

This isn't a tool that slots neatly into every cluever. However, for those who only want to grab clues once in a while, or for those who can only spare a few cards in their deck for investigations, this is worth a second look.

Ruduen · 905
I played it with Kate as her main investigation tool. It is ok, and it gets bonkers when you upgrade it, but depending on the campaign and scenario, I feel Fingerprint Kit would have been more useful. In Hemlock Valley, because of the sheer amount of monsters you'll encounter, this can get fueled ASAP because of evasion checks or because a fellow Guardian goes full Rambo, but in TSK, for example, there are scenarios where there aren't that many enemies and half of them are out of reach, in the shadows. It is a Science/Tool card, so it will be instantly useful in Kate because of Flux Stabilizer (Active). — rodro · 71
Ravenous Myconid

As if it is not good enough that it doesn't require "you draw" or "at your location", unlike Ward of Protection, A Test of Will, Forewarned, Counterespionage, etc.. this cancels the entire treachery's effects and not just the revelation effect, so plant also eats the Surge keyword as well. Haha!

5argon · 7989
Failed Experiment

I've suffered this in Normal mode during TSK campaign. This thing can deal you 5 horror easily if you aren't prepared.

How do you prepare to this? This are the thing I used to mitigate the sheer brutality of this card.

  • Just run a lot of card draw. The sooner you pull this out your deck, the better. Yes, it can deal you1-3 horror from the get-go, but 1-3 horror is better than 5 in later stages of a scenario. You know, there is a chance you pull Aetheric Current before Failed Experiment to get you out of a fishy situation where you have 5 clues distributed among your cards.

  • Horror healing: Steady Hand with the Science card kit is a must. Period. If you pull Failed Experiment, healing 1 each turn will keep you afloat. Logical Reasoning is also good for this, giving you 2 willpower icons if you want to try and pass the Willpower test.

  • Horror soak: Allies in Seeker usually run higher horror soak. Medical Student is even a Science ally. Ravenous Myconid: Nurturing Strain will minimize the risk of dying from this to the bare minimum.

  • Eureka to fish Aetheric Current / Failed Experiment earlier from your deck. Well Funded and Inquiring Mind to get free 3 wild icons because of the nature of the assets you'll run with Kate.

  • Hawk-Eye Folding Camera to get +1 willpower and +1 sanity.

  • Put clues in assets. BE CAREFUL ABOUT THIS, BECAUSE AN AUTOFAIL WILL PUNISH YOU HARD. Like I went 7 vs 5 to avoid massive damage and I ate 5 horror because of this. Even then, sometimes it is worth the risk.

You NEED to use Flux Stabilizer to get to the numbers, because Kate has only 4 intellect and 4 agility. Asume this will deal you at least 3 horror in every scenario and prepare for the worst. Let your Guardian (Carolyn, anyone with Girish Kadakia, for example) do something about this.

In harder modes this can be worse, but even then, pulling this weakness earlier is the best option you have to avoid a massive punishment in later stages of a scenario.

-

rodro · 71
Kate still controls the clues on her assets, so you can put those on her location to avoid some horror; the most horror you are required to take from this card is the base 3 (which is still a lot, but that's also the worst case). — Hylianpuffball · 26
Yes, Analysis and Quick Study should give you the numbers needed. Kate can run Research Notes to it's full potential since it is a Science asset too. It makes playing Kate safer, but the "place clue" archetype doesn't have that many useful Science/Tools cards. I want to try that now. — rodro · 71
I played Kate through an entire campaign and I think I only took more than 2 horror once. Sure, if you draw an autofail it can be rough (all good weaknesses should be from time to time), but you have to choose to let it deal more than 3 horror to you. I ran two Logical Reasoning (and no clue drop tech) and found Failed Experiment to be a manageable weakness most of the time. — Pseudo Nymh · 41
Have your pals lend you good boosts. — MrGoldbee · 1404
We were two players at opposite ends of the map when I suffered that amount of horror, so no luck with that. That would be OK if your pal is a Mystic with 40 brain icons spread among their cards, not a Guardian with BFGs. Even then, not needed at all, Kate can deal with this by herself. — rodro · 71
Nobody has mentioned Versatile to pull in Deny Existence. I feel like it should work but it would be far from a sure bet. — Staticalchemist · 1
Rod of Carnamagos

Now that Rod of Carnamagos has been ruled to act like a stick-shaped Olive McBride, here are some cards that interact with it. I've grouped them by what type of chaos bag you want, as the token distribution will affect the probability of revealing the token you want. If you're doing only or no-/, you don't need the upgraded version (though the Level 0 is only 1 per deck).

I'm not including interactions that are obviously bad, like Shrivelling.

bag

  • Armageddon, Eye of Chaos, Shroud of Shadows: Perfect synergy with the Rod, and as a bonus you actually use the Rod for what it was originally intended for.
  • Curse of Aeons: Yes this card sucks, but there is a niche case where you’re fishing for a in a heavy deck to activate a -specific card effect. Note you don’t remove the tokens until the end of the test so they can still come back to bite you in Step 3.
  • Prismatic Spectacles
  • Control Variable
  • Fey: Use Rod on the first free trigger window before Step 2 when you commit skill cards. If a is revealed, you know that retrieving this card is guaranteed.

bag

Non-/ bag as those tokens dilute the chance of pulling other tokens these cards want

/ bag

Other interactions

  • Premonition: Great synergy with the Rod. If you pull an or something else you want, don't trigger the Rod. If you pull a or something else you don't want, trigger the Rod to "dump" it so it doesn't mess up your Step 3 token pull.
  • Prescient: Also great synergy. You can count the tokens to see which type you have most of before guessing (though this will probably be "symbol" in most cases).
  • Recall the Future: Not as good synergy as you need to specify a specific token. Unlike a skill card, you must activate this at the beginning of the skill test, so you can't cheat and use the first free trigger window to see what tokens you pull first.
  • Unrelenting: You can use this to seal tokens you don't want revealed before triggering the Rod.
  • The Rod won't help Sacred Covenant and Paradoxical Covenant as they only trigger during Step 3 (good thing as Paradoxical would be sort of busted otherwise).
  • Blasphemous Covenant, False Covenant, and Ancient Covenant: Works but useless. .35 Winchester might be an exception for Blasphemous—if every token you pull with the Rod is negative but you pull a , trigger the Covenant to make it non-negative, thereby guaranteeing the extra damage if you hit.

As a reminder, revealed tokens from the Rod only trigger card effects. They have no intrinsic effects on their own, so revealing 2 tokens with the Rod won't screw you over (and actually helps you for symbol-triggering card effects).

Put me on the record: "Rod of Carnamagos" triggering mid test is very silly. — MrGoldbee · 1404
I think this interaction makes the card pretty broken. — AlderSign · 206