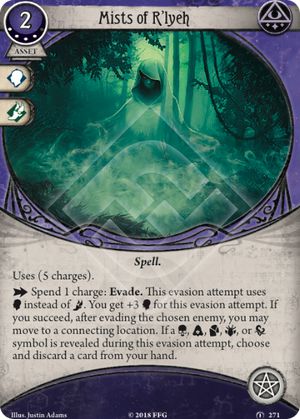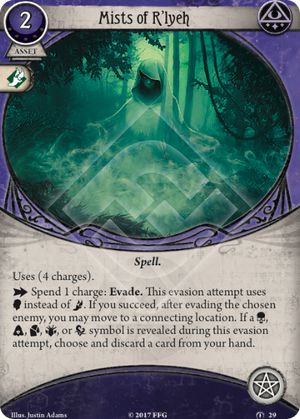
If you're a mystic on an awkward date (this ghoul does NOT look like his eHarmony pic...), the Mists will get you out of it more times than not. It's a great level 0 asset. Not too expensive at 2 resources, and with impressive longevity at 4 charges. How good is the ability to use will instead of agility? For Agnes, Akachi, Patrice, and Jim, that's a +2 on the check, with the skills unmodified. With Mateo, Marie, Daisy, and Luke, it's a +1. For Diana, variable. And for Norman, a hefty +3. And that's not counting the many will icons your mystic likely has in hand, or the odd static boost from David Renfield or Holy Rosary.
And the good news doesn't stop there. After the mists cease to swirl, where are you? Well, you could just be right where you were -- but you don't have to be! If you pass the evade check, you get a free move as well to an adjacent location. If you use use all your charges (probably not likely, granted), that's an impressive four free actions.
Like lots of mystic cards, there's a side effect if you draw one of the ugly tokens, but it's not too bad -- you lose the least important card in your hand.
It may be handy to compare the Mists to your other evade options as a mystic. They are mostly events:
Blinding Light: The same cost as the mists, but single-use. It dings your ditched enemy for a damage, but the side effect is a bad one -- a lost action. This makes evading on your second action a risky proposition. Even if you succeed, you could lose your third action, meaning that you'll start your next turn right back where you started: engaged with an enemy and needing a card to help you evade it, which card is now in your discard pile.
Banish: With this event, you don't just evade your enemy -- you punt it to the other side of the map as well. In many situations, that's as good as defeating it. But it costs you an XP. And even if it didn't, Ethereal Form and the Mists seem better to me -- Ethereal Form gives you a better shot at the check itself (without succeeding which, nothing matters), and the Mists give you four uses instead of one, while still letting you put some distance between yourself and your befuddled foe.
Bind Monster: If you enjoy watching flipped turtles try to right themselves, you'll probably like this card. But if you aren't evil, the 3 resource, 2 xp cost will likely turn you off. Sure, it theoretically lets you pin an enemy down for the whole scenario, but given all the various checks you'll have to pass, all the resources and experience, you may as well just put the poor thing out of its misery and shrivel it a couple times!
Ethereal Form: Not enough to swathe yourself in mist? Then BECOME the mist instead! When you let your too too solid flesh melt, thaw, and resolve itself into a dew, your evade check is almost guaranteed to succeed, since you ADD your will value instead of swapping it in. And you disengage with everything else, too. In fact, if you're mobbed, this card gets BETTER, because you can choose the enemy with the lowest evade to target. If your arcane slots are likely to be taken up by other spells, this is a good event to have in your back pocket.
Summary: None of the mystic evade events really impresses except Ethereal Form. If you're running a lot of other spell assets, consider a copy or two of Ethereal Form for your evasion needs. If not, it'd be a high-stakes mistake as a mystic to miss on a take of the mists... and that pun-spree's going downhill fast so time to sign off!